
Call Us Today!
Call Us Today!

When it comes to exterior painting, every brushstroke helps transform your home into something you’re proud to show off. But before any color touches the surface, one step makes all the difference—surface preparation. It’s more than just routine. It sets the stage for a vibrant finish that lasts and holds up against time and weather.
At Kind Home Solutions, we don’t just paint—we protect, refresh, and bring out the best in your home’s exterior. If you’re thinking about giving your home a fresh new look, contact us today and get started with a team that knows prep work is just as important as paint.
 Getting the surface ready plays a big part in helping the paint stick the right way. It helps avoid peeling, cracking, or fading. Just like an artist wouldn’t paint without prepping their canvas, it doesn’t make sense to paint a house without dealing with what’s underneath first.
Start by looking closely at your home’s exterior. Over time, weather and outdoor exposure can leave behind stains, residue, or surface damage. Addressing these issues now helps create a solid base for the new paint and leads to a longer-lasting, better-looking result.
Without proper prep, paint has a harder time bonding—and that often leads to issues like peeling or fading. Getting the surface ready helps the paint go on smoother and last longer. Here’s how it makes a difference:
The first step is cleaning the surface. Dirt, dust, mildew, cobwebs, and oils can all get in the way of proper paint adhesion. Whether you use a power washer or a stiff-bristle brush, removing grime makes way for a fresh, clean surface.
For mildew or algae, a bleach-water solution works well. This sets the stage for better paint coverage and a longer-lasting finish.
 After cleaning, take time to inspect your home’s exterior. Look for cracks, chipped areas, holes, or other damage. These spots need to be fixed before painting begins.
Use caulk or wood filler to patch up small issues. For more extensive damage, you may need to replace entire sections. This step keeps paint from soaking into weak or damaged spots and helps create a polished, even result.
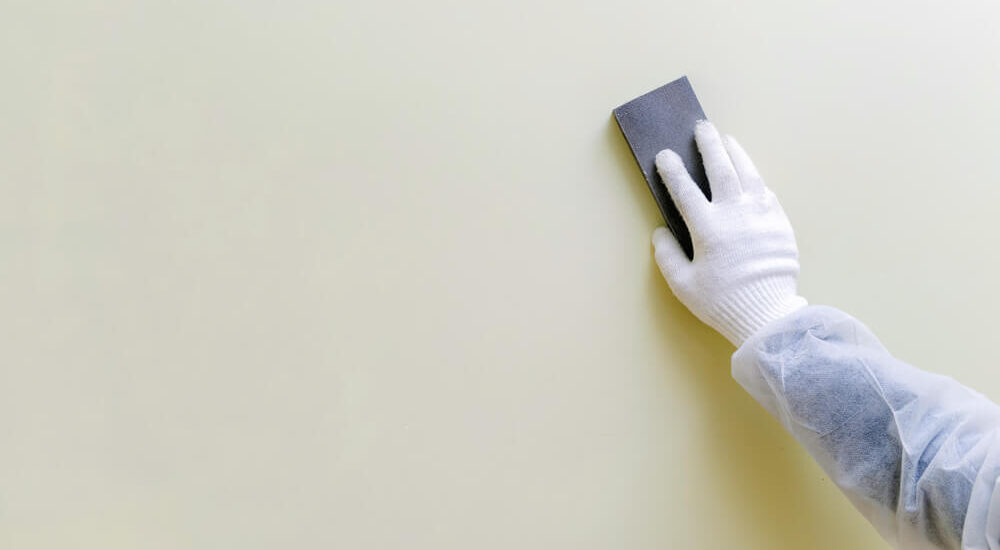
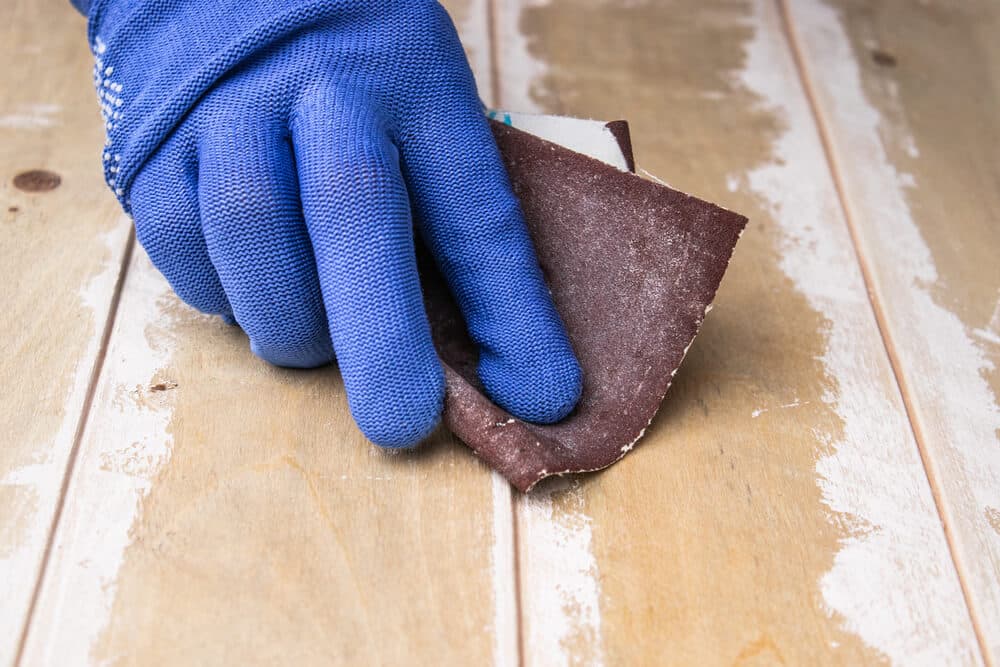
Once repairs are made, sanding helps level out surfaces and remove any remaining loose paint or imperfections. This process smooths everything out, making it easier to apply primer and paint evenly.
Whether you use sandpaper or a power sander, this step goes a long way in helping your finished paint job look clean and professional.
Primer helps paint grip to the surface and improves coverage. It’s especially useful on materials like bare wood or stucco.
It also acts as a seal, helping protect your home from moisture that can cause long-term damage. Without primer, you might see blotchy or uneven results—so this step is worth the effort.
Caulking seals up joints and gaps, keeping moisture out and protecting your home. Apply caulk where boards meet, around windows, and along trim.
Smooth it out as you go to create a clean look. This not only protects your home but also creates a more uniform surface for painting.
For the best possible results with your exterior painting job, keep these expert tips in mind to maximize the durability and appearance of your finish.
 Take Your Time: Rushing through prep work can lead to problems later. Spending more time upfront gives better results and saves time on future repairs.
At Kind Home Solutions, we know that surface preparation isn’t just a step in the process—it’s what everything else builds on. Cleaning, fixing, sanding, priming, and caulking all play a role in getting your exterior ready for a fresh coat of paint that lasts.
Call us today to schedule your exterior painting project! Experience the difference a well-prepped surface makes. Your home deserves more than just a fresh coat—it deserves the right start.