
Call Us Today!
Call Us Today!

Refinishing cabinets is one of the best ways to update your kitchen or bathroom without a full renovation. A fresh coat of paint can transform outdated cabinets, giving them a modern, clean look.
However, before reaching for the paintbrush, an important step determines how well the finish will last—primer.
Many homeowners wonder if primer is necessary or if they can skip straight to painting. Cabinets endure daily wear and tear, including moisture, grease, and frequent handling, making proper preparation even more important than with walls or furniture.
At Kind Home Solutions, we know that the right primer can mean the difference between a smooth and long-lasting finish and one that chips, peels, or looks uneven.
We pecializes in cabinet painting and refinishing, using high-quality primers and expert techniques to ensure a flawless finish.
Let’s explore what primer does, when to use it, and how it improves the durability and appearance of painted cabinets.
Primer paint is a specialized coating applied to a surface before painting to create a smooth, even base for the topcoat to adhere to.
It is a crucial step in the painting process, as it helps to ensure a long-lasting, high-quality finish. Think of primer paint as the foundation of your painting project—it prepares the surface, making it ready to accept the final layers of paint.
Talk to a Kind Home Solutions Specialist today by calling 720-807-9068 or by submitting a free quote for a free estimate.
Primer acts as an adhesive layer that allows paint to grip the surface properly, much like how a primer enhances makeup application by preparing the skin. Without it, paint may slide off glossy surfaces or soak into porous materials unevenly.
Some surfaces have stains or color variations that can bleed through paint. Primer prevents this by sealing the area and blocking the stain.
Common stain sources include:
A stain-blocking primer keeps these marks from reappearing after painting.
Primer strengthens the bond between the surface and the paint, reducing the risk of peeling, cracking, or chipping. This is especially important in high-traffic areas like hallways, kitchens, and bathrooms.
Just as a primer helps to even out skin tone in makeup, it fills in small cracks, pores, or rough textures on surfaces, allowing the final paint coat to look flawless.
Example: Bare wood has a grainy texture that primer helps smooth out. Concrete and brick are highly porous, and primer helps create a uniform surface.
Different primers work best for different surfaces. Choosing the right one improves paint performance and longevity. Just like face primers come in various types to suit different skin needs, different primers work best for different surfaces.
Before applying primer paint to cabinets, it is essential to clean the surface thoroughly. Proper preparation ensures that the primer adheres well and provides a smooth, even base for the topcoat. Here’s how to do it: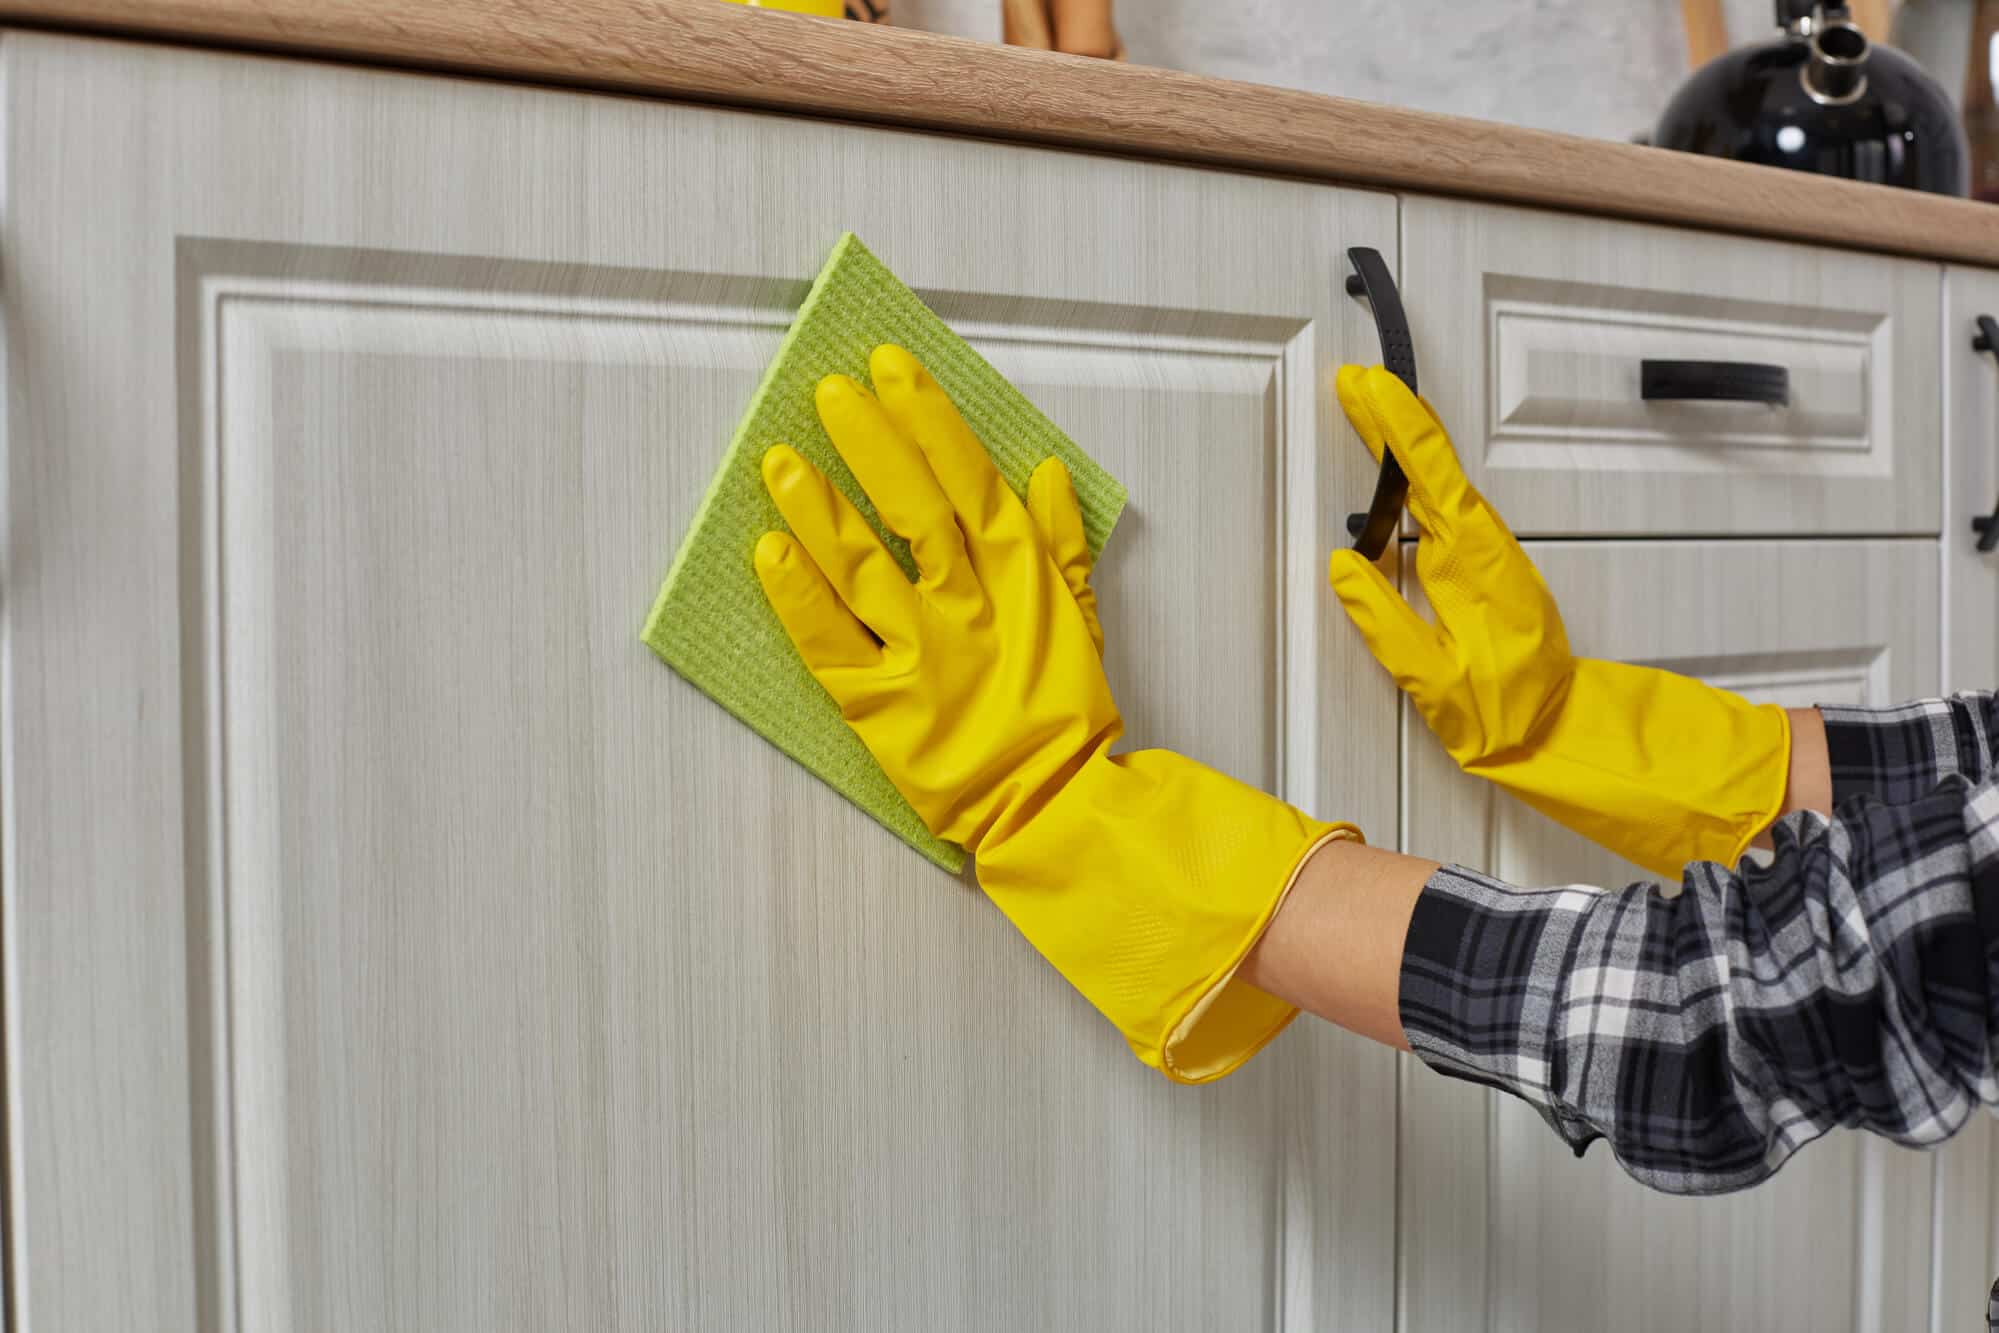
By following these steps, you can ensure a smooth, even surface for the primer paint to adhere to, resulting in a high-quality finish. Proper preparation is key to achieving a professional-looking paint job that lasts.
Our team will cover everything in your kitchen area and protect any floors and surfaces. Our crew will work in a closed space that we construct.
Every door, drawer, and box will be disassembled and cleaned on every job. Before proceeding to step 3, it’s critical to remove any debris or filth from the surface area.
To get rid of the top coating on the cabinet, we will lightly sand all of the doors, drawers, and surfaces. This will guarantee that the paint will correctly cling to the cabinet surface.
Prior to painting, two coats of premium priming will be applied. To achieve that smooth surface, we perform some more light sanding and cleaning in between each coat of primer.
We apply two layers of the best materials made especially for cabinets. Sherwin Williams Emerald Urethane Trim Enamel is what we usually use.
We will reassemble the cabinets and replace all of the hardware after they have dried and hardened. We will tidy up any mess we made once everything is back together so you can start using your new kitchen right away.
Not every project requires primer, but in some cases, skipping it leads to poor results.
New drywall and unfinished wood absorb paint unevenly. Primer creates a solid base for paint application.
Darker colors can show through lighter paint. Just as a primer can enhance eye makeup by providing a better base, a high-hide primer reduces the number of coats needed.
Stains can bleed through paint over time. A stain-blocking primer keeps them from resurfacing.
Paint won’t adhere well to smooth surfaces like tile, laminate, or oil-based finishes. A bonding primer improves adhesion.
Brick and concrete absorb paint unevenly, leading to blotchy coverage. A primer keeps paint from soaking in too quickly.
Example: A homeowner who skips primer on bare wood trim may need to repaint in a year or two. With primer, the finish lasts five years or more.

Painting too soon over wet primer can cause peeling and streaking.
A well-primed cabinet surface makes all the difference in achieving a smooth, durable, and professional-quality finish. Whether you’re going for a classic white, a bold color, or a trendy two-tone look, the right primer sets the foundation for flawless results.
No matter your cabinet design ideas, skipping primer can lead to peeling, uneven coverage, or a finish that doesn’t last. Kind Home Solutions ensures your cabinets look beautiful and stay protected for years to come.
Ready to refresh your cabinets? Trust the experts at Kind Home Solutions for high-quality priming, painting, and refinishing. Contact us today for expert cabinet painting services that deliver professional, lasting results!
Not all primers work well on cabinets. For laminate or glossy surfaces, a bonding primer helps paint adhere properly. For stained or wooden cabinets, an oil-based or shellac primer prevents bleed-through and creates a smooth finish.
One coat is usually enough, but for darker stains, deep wood grains, or drastic color changes, two coats may be needed for full coverage. Each coat should dry completely before applying another.
Paint-and-primer-in-one products work well for walls but are not recommended for cabinets. Cabinets require a separate high-adhesion primer to bond properly and withstand daily wear and tear. A dedicated primer results in a smoother, more durable finish.
Primer can impact the coverage and vibrancy of the final paint color. For light colors, a white or tinted primer works best. For darker colors, a gray primer helps achieve full coverage faster. The right primer base reduces the number of paint coats needed.
Priming the inside of cabinets is optional unless the interior is visible, stained, or heavily used. For open shelving or glass-front cabinets, applying primer inside creates a uniform look.
Primer is not designed as a final coat. It lacks durability, sheen, and wipeable properties needed for cabinets. Exposed primer can lead to stains, moisture damage, and rough texture. A high-quality cabinet paint should always follow primer.
Talk to a Kind Home Solutions Specialist today by calling 720-807-9068 or by submitting a free quote for a free estimate.
The workers were on time and completed job exactly as agreed. All personnel from company (Brian, Whitney, Jeramy, Ray) were very professional and competent. Highly recommend this company to paint your house.
The entire team at Kind Home Solutions handled our interior house painting job better than our expectations. I was contacted right away by customer service to schedule the estimate. Their estimator listened well to what we desired and quickly gave us a fair price. They were…
“I can’t say enough about KHS, everything from Whitney and her perky disposition, Brian who came out for the on site consult, Jeremy who came to review the painting instructions and last but most certainly NOT least, the painters themselves lead by Mr. Ray along with his dad and stepson..
We love the house and the job done on it! The painters did fantastic work (even painted the deck at no charge), and it’s hard not to smile when we pull in the driveway. I’d say the only road bump we encountered was weather and planning. It was nice to have Tom come out to walk me through..
We just moved into our first house which needed significant cosmetic work done, particularity popcorn ceiling removal and painting throughout. I scheduled Michael from Kind Home Solutions to scope the project and was so impressed with his knowledge, patience and customer service…
I hired Kind Home Solutions to re-paint my house and I couldn’t be happier!! From the very start to completion of my Project Michael, Whitney and Bobby were extremely Professional, Knowledgeable and Focused on delivering a great Quality and Customer Experience. I love their…
“Michael, Ryota, and Treven did an amazing job getting my roof replaced. We had a quick timeframe for needing the work to be complete, they were flexible with start date, the work was completed quickly and looked great! Can’t recommend them enough!”
Home Exterior: I had everything I was looking for in a painting company. There was no money up front until job approved. They had a great warranty. They were easy to work with and kept me informed. They were also on time with appointments. Good value for a painting company.